


How can custom purchase order number be configured?
Each branch in Tradogram has its own unique purchase order (PO) numbering system. You can configure this system to automatically generate sequential PO numbers for your branch.
Step-by-Step Guide
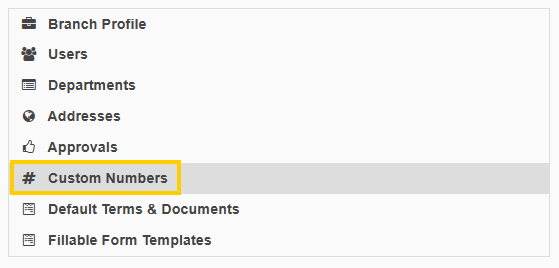
- Click on the dropdown menu in the top-right corner of the screen and select "Manage Branch".

- On the left-hand panel, click "Custom Numbers".
- You will configure three key elements of your custom PO number:
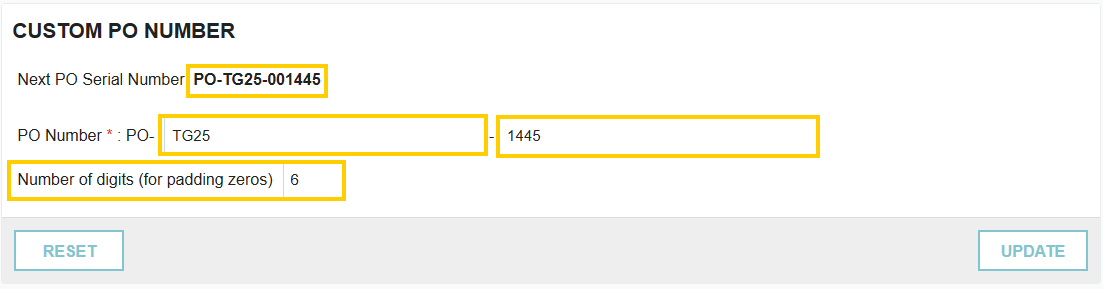
- Prefix: Enter a static, alpha-numeric code that every PO will have (e.g., TG25). This is a required field.

- Initial Serial Number (Next Number): Enter the number that will be used for the very next PO created (e.g., 1445). Every subsequent PO will increment sequentially by one.
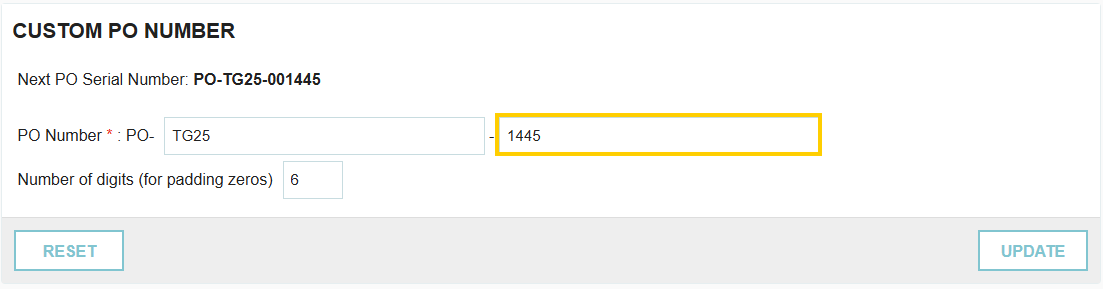
- Number of Digits (Padding Zeros): Enter the total number of digits the numerical part of the PO number will contain (up to 9). Any unused digits will be filled with padding zeros. For example, if you set the digits to 5 and the current number is 123, the output will be 00123.

- Click "Update" to save your branch's purchase order numbering settings. At the top of the section, you will see your next PO number based on the changes.
Important Notes
- Number Assignment: The system only assigns a serial number to a purchase order after it has been created (not just while it is in draft).
- PO Numbers Skipped: If you manually adjust the incremental number in the Initial Serial Number field (e.g., changing it from 100 to 150), the system will note the intervening numbers (100-149) as skipped.
- PO number will always have the PO prefix (ie. PO-TG2025-001445)
Custom Invoice Number
The custom invoice number can be assigned the same way. The custom invoice number is a number assigned ONLY to Non-PO Invoices and acts as an additional internal number.

When a Non-PO Invoice is created with this sequence, it will be given both the internal custom invoice number, as well as the invoice number entered.

Thank you! Your submission has been received!
Oops! Something went wrong while submitting the form.
.webp)
.png)


